How to: Configure Quectel BG96 in Transparent Mode for NB-IoT on Ubuntu 18 Desktop
In this short tutorial we explain how to set and configure the quectel BG96 in Transparent Mode for NB-IoT on Ubuntu 18 Desktop.
This how-to includes these topics:
- About the Modem
- Executing AT Commands for Initial Hardware Configuration
- Executing Commands for Software Configuration
- Debugging
About the Modem
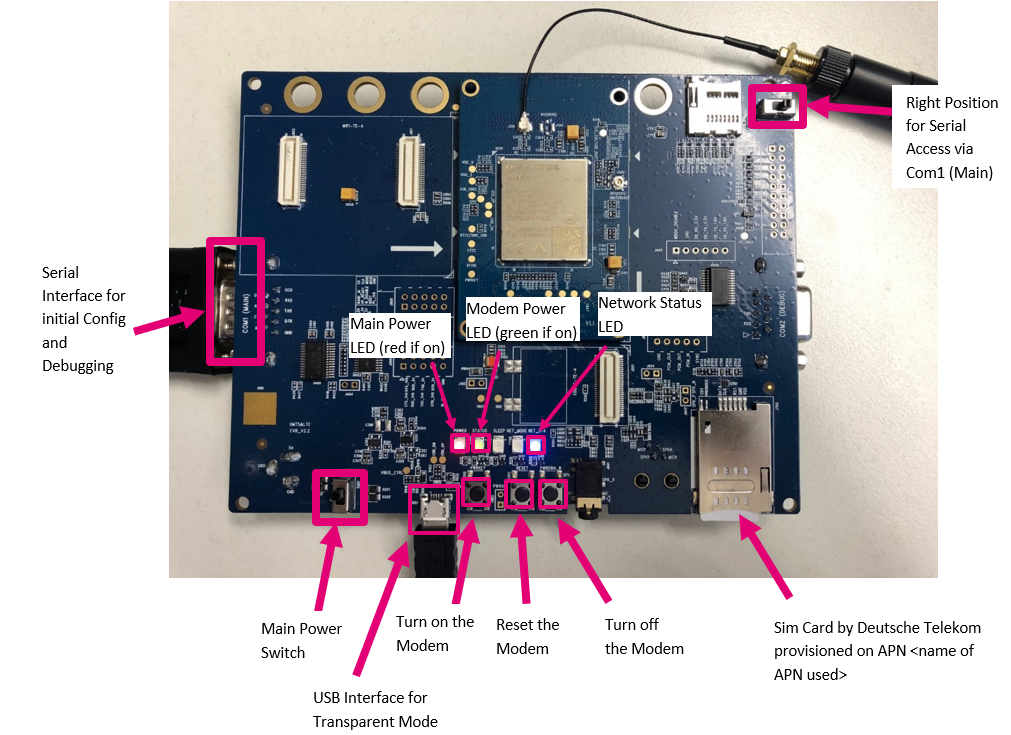
Photograph of modem with callouts to specific components and description of use.

NOTE: There are several APN options that you can use:
- The public APN is nbiot.internet.telekom.de (this is only available for testing), or
- the APN for connecting to Deutsche Telekom's Cloud of Things via NB-IoT is nb-cloud.ic.m2mportal.de, or
- your own private APN from Deutsche Telekom.
Executing AT Commands for Initial Hardware Configuration
The initial modem configuration needs to be done once before you can continue with the next steps. Generally these AT commands need to executed only once. However, if you have problems with the modem configuration or problems occur while trying to connect you may have to execute the AT commands again.
Connect an FTDI Serial Converter Cable to COM1 and open a serial terminal (e.g. Miniterm, baudrate is 115200). Execute these AT commands:
at+cfun=0
 at+qcfg="nwscanmode",3,1
 at+qcfg="nwscanseq",030303,1
 at+qcfg="iotopmode",1,1
 at+qcfg="servicedomain",1,1
 at+qcfg="roamservice",255,1
 at+qcfg="band",0,0,80,1
 at+cpsms=0
 at+cfun=1
 at+cops=1,2,"26201",9
It can take a while until the last command (actual attach) comes back with an OK. This can take 2 to 3 minutes.
Executing Commands for Software Configuration
You will need recent versions of both NetworkManager and ModemManager (at least 1.8.0-1) for your Linux OS. Ubuntu 18.04. LTS Desktop only comes with an older version of the ModemManager and Ubuntus package mirrors for apt do not offer a newer version. So remove the package with apt (sudo apt remove modemmanager) and install it with snap install (sudo snap install modem-manager). Next start the service using the command:
sudo systemctl start snap.modem-maner.modemmanager.
-
Open the terminal and add your user to the group, dialout:
sudo usermod -a -G dialout -
Log off and log on again, and check whether your user was added to dialout with groups.
-
Connect the modem via the USB interface to your machine and turn it on by pressing the button. If it’s a virtual machine, ensure that you are using the USB3.0 controller from your host system.
-
Open a terminal and list your USB devices with lsusb:

After you update user USB-IDs with sudo update-usbids, it should look like this:

- Now you can add a new connection by doing the following:
nmcli connection add type gsm ifname cdc-wdm0 con-name bg96 apn <name of your APN> gsm.number atd*99#
NOTE: The device may not be named cdc-wdm0. Check the exact name using:
ls/dev|grep cdc
Usually, the device should directly connect you to the NB-IoT network:

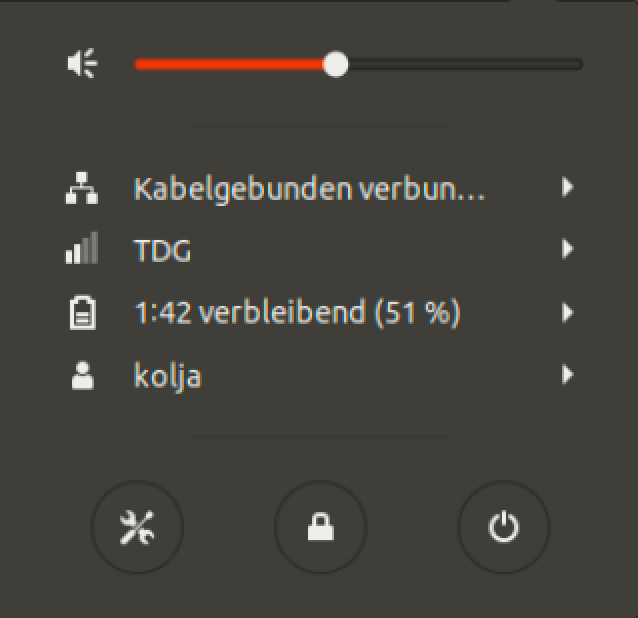
Test the connection by turning off all network connections except the mobile connection.
- If you are using a public APN, ping any publicly resolvable IP adress, for example: 8.8.8.8
- If you are using the cloud APN, ping this IP address: 172.25.102.151.
- If you are using your own private APN provided by DT, ping an IP address in your network.
NOTE: As you are using NB-IoT, the connection may be slow:

Debugging
If you experience connection problems, turn the modem radio off and on by using the serial port COM1 and these AT commands:
at+cfun=0
       at+cfun=1
If you still experience connection problems, try to manually attach by using this AT command:
at+cops=1,2,”26201”,9
Updated over 4 years ago
