AllThingsTalk
The AllThingsTalk maker platform provides an Native integration directly to our IoT Creators' CDP platform.
Device and application registration
The first steps are to perform the device registration as explained in our getting started section.
In the your application section you specify the AllThingsTalk api for our network. https://api.allthingstalk.io/proxy/network/tmobilenl
Registration AllThingsTalk
AllThingsTalk is an provides an easy way to create a display for your device data.
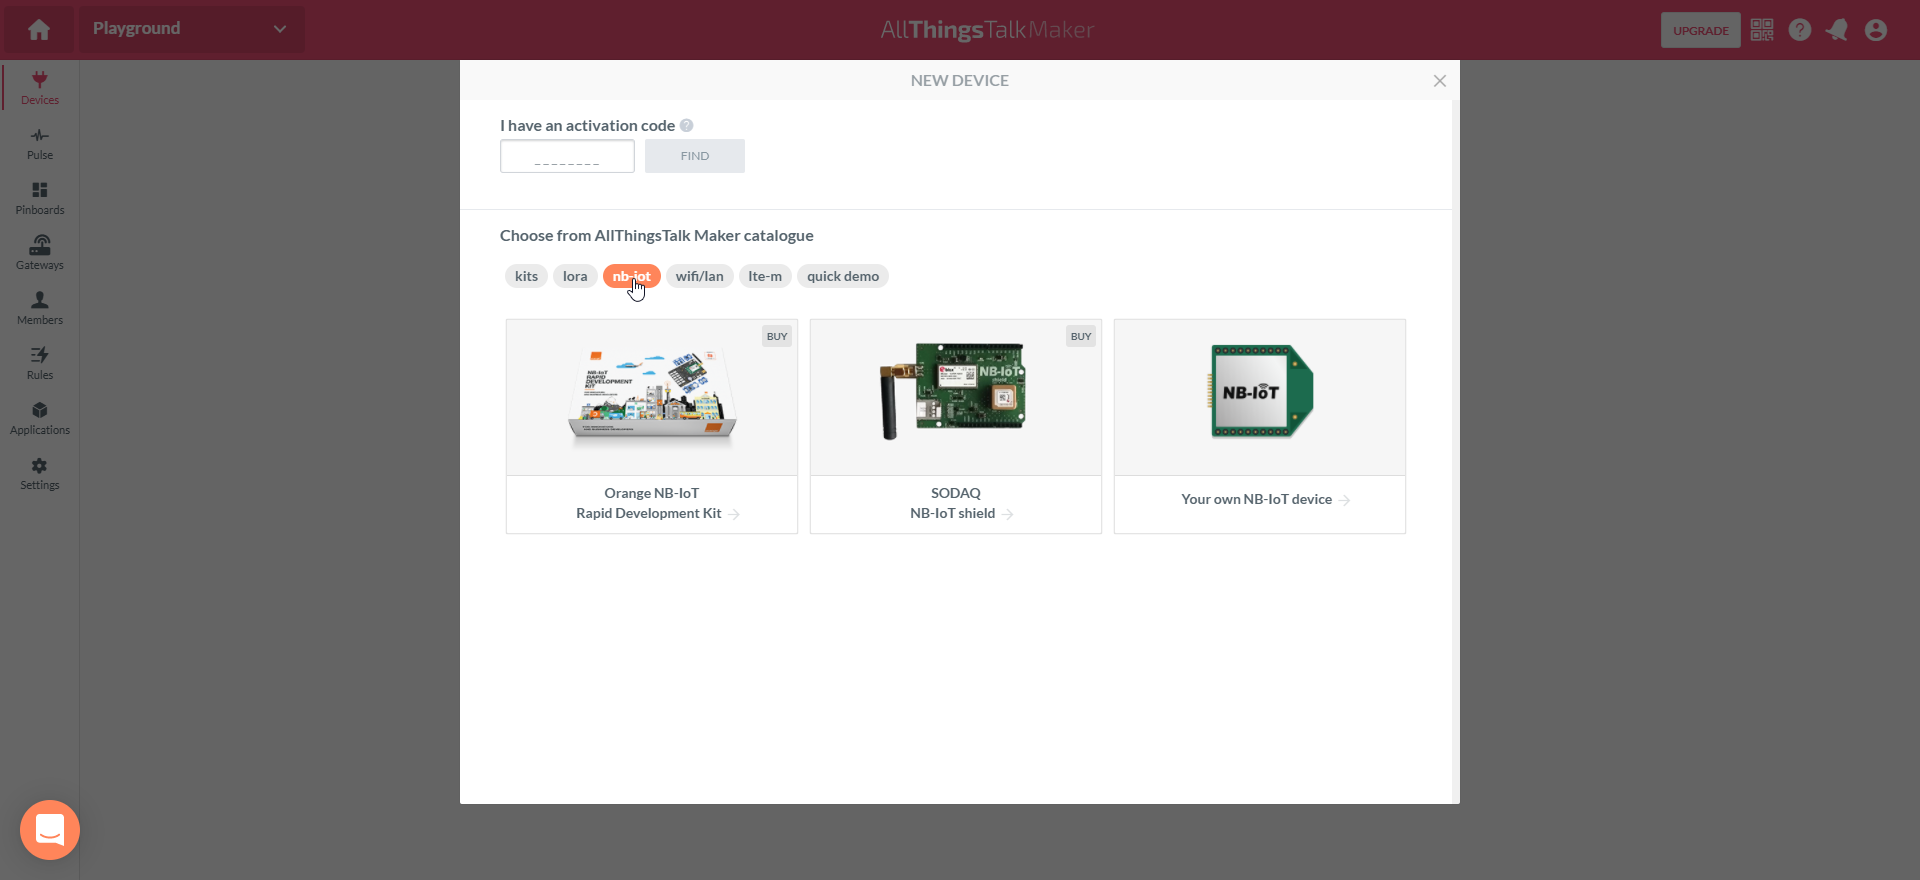
First go to https://maker.allthingstalk.com/ and create an account. Then select CONNECT A DEVICE.

When you choose the NB-IOT tag all NB-IOT device types become visible. You can select any device type and move to the next step.

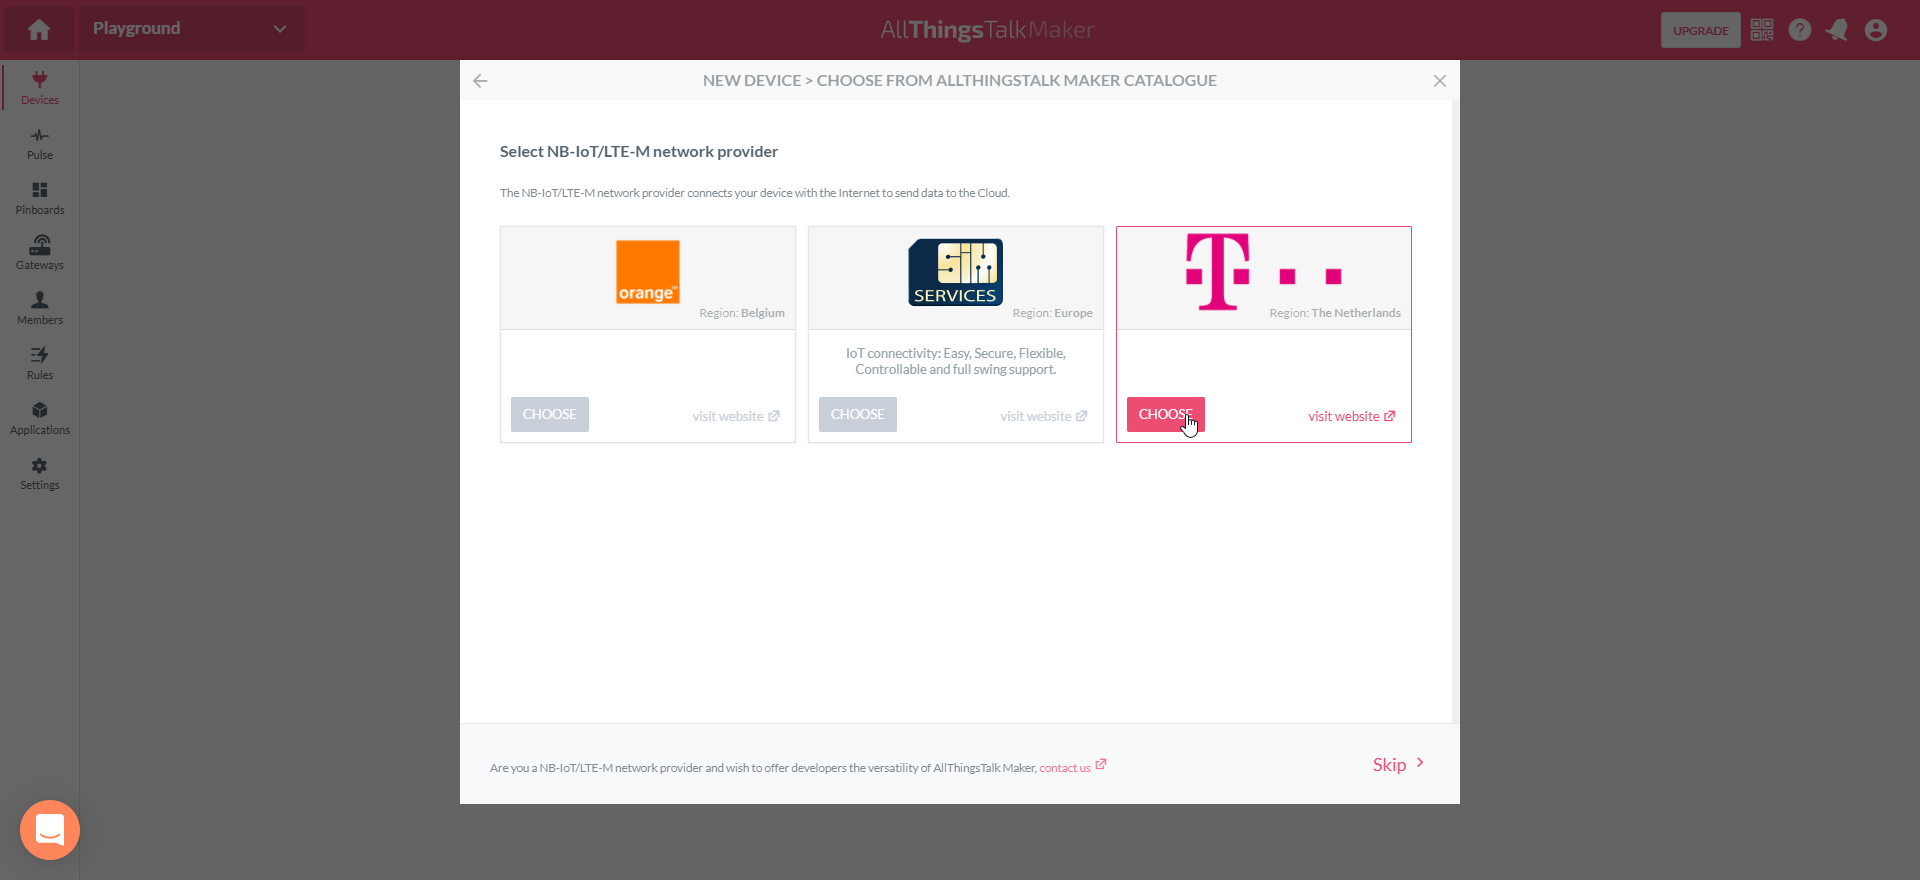
On the Network selection page you select T-Mobile Netherlands as your connectivity provider.

In the next screen you enter the IMEI of your device and give it a name.

When you press the CONNECT button you will see the assets page. If you use an self describing payload type like JSON or CBOR manually data parsing is unnecessary.
Connect your device and start sending data
Click on your device and go to the debug tab.


You will see your device data appear in this tab, and if its properly parsed you will also see that.
Next step is to create the assets, the assets must match the parsed parameters. After saving click on the asset name to edit the title.
Use the: Create PinBoard button on the assets page.


And thats it.
Sodaq Universal Tracker
Note for using the Sodaq Universal tracker application with this integration use this ABCL
{
  "sense": [
    {
      "asset": "timestamp",
      "value": {
        "byte": 16,
        "bytelength": 4,
        "signed": false,
        "byteorder": "little",
        "type": "integer"
      }
    },
    {
      "asset": "v",
      "value": {
        "byte": 20,
        "bytelength": 1,
        "signed": false,
        "calculation": "val * 10 + 3000",
        "type": "integer"
      }
    },
    {
      "asset": "t",
      "value": {
        "byte": 21,
        "bytelength": 1,
        "signed": true,
        "type": "integer"
      }
    },
    {
      "asset": "g",
      "value": {
        "latitude": {
          "byte": 22,
          "bytelength": 4,
          "signed": false,
          "byteorder": "little",
          "calculation": "val / 10000000",
          "type": "integer"
        },
        "longitude": {
          "byte": 26,
          "bytelength": 4,
          "signed": false,
          "byteorder": "little",
          "calculation": "val / 10000000",
          "type": "integer"
        },
        "altitude": {
          "byte": 30,
          "bytelength": 2,
          "signed": false,
          "byteorder": "little",
          "type": "integer"
        }
      }
    },
    {
      "asset": "speed",
      "value": {
        "byte": 32,
        "bytelength": 2,
        "signed": false,
        "byteorder": "little",
        "type": "integer"
      }
    },
    {
      "asset": "sat",
      "value": {
        "byte": 35,
        "bytelength": 1,
        "signed": false,
        "type": "integer"
      }
    },
    {
      "asset": "ttf",
      "value": {
        "byte": 36,
        "bytelength": 1,
        "signed": false,
        "type": "integer"
      }
    }
  ]
}
Then move on using their manual:
Assets
Check if you have the same Asset names.
Voltage
Create a New Asset.
Give it the name v.
Choose Integer as type.
Create the asset.
Click on the asset name to edit the title.
Do the same for the following assets:
ttf
timestamp
t
speed
sat
GPS
Add a new asset, type: Object, Name g.
In the advanced tab, paste the following json code:
{
    "type": "object",
    "properties": {
        "latitude": {
            "type": "number"
        },
        "longitude": {
            "type": "number"
        }
    }
}
Hit Save, you can edit the Title later.
Once the assets have received some data you can move to the pinboard section to pin some controls show data from the device.

Updated over 4 years ago
