IoTerop IOWA LwM2M Client via PPP connection
In this Guide we will use IoTerop's IOWA LwM2M baseline client with our own server. To make this possible we will use a Quectel BG96 via a PPP connection. Please keep in mind that we are using the free evaluation version of the IOWA LwM2M SDK on GitHub here. It does not include a security layer, only the full IOWA SDK does
Before we start you should also know that it might be useful to start with our UDP guide for the BG96 if you have no experience with the device or our network yet. You can find the documentation here.
1. Set up your Quectel BG96 for a PPP connection
Let us start with setting up the Point-to-Point Protocol connection. All you need for it is your Quectel BG96 and our wvdial.conf file.
[Dialer bg96]

Carrier Check = off
Stupid Mode = on

# Your modem device. Usually /dev/ttyUSB0 or /dev/ttyACM0
Modem = /dev/ttyACM0

# Set Baud rate
Baud = 115200

Init = ATZ

# Set APN
Init1 = AT+CGDCONT=1,"IP","scs.telekom.tma.iot"

#LTE-M with Telekom Deutschland
Init6 = AT+COPS=1,2,"26201",8

#dial with *99#
Phone = *99#

# These often suffice, but your ISP might require different details. They'r
# often dummy details used for all users on the ISP, frequently the ISP's
# name, but some ISP's do require you to use a real username and password.
Username = dummy
Password = dummy
Copy the content from wvdial.conf and paste it into your file after executing the following command.
sudo nano /etc/wvdial.conf
After you saved your file you are able to get your connection. Connect your Quectel BG96 with your computer via USB and dial with the following command.
wvdial bg96
Now you can add your route:
sudo ip route add 172.27.128.0/22 dev ppp0
Congratulation!
If everything worked so far, you are now able to access our network with your computer via a PPP connection.
2 Register and subscribe your device
Before you can start working with the IoTerop LwM2M client you need to register your device to our IoT Creators Portal. Furthermore it is helpful to register an endpoint URL and do a lifecycle subscription on your device.
2.1 Register your device
Usually you would use your device IMEI but in our case the IoTerop baseline client is the "device". So let's name it IoTeropBaselineClient_1. The _1 is not necessary but the easiest way when it comes to the changes in the code which we will do later.
To add your device to the IoT Creators Portal, use the following Northbound API
| URL | https://api.scs.iot.telekom.com:443/m2m/endpoints |
| Method | POST |
| Header | { 'Content-Type': 'application/json', 'Accept': 'application/json', 'Authorization': 'Basic <YOUR BASE64 STRING> } |
| Body | {'serialNumber': 'IoTeropBaselineClient_1', 'groupName': '<YOUR GROUP NAME>', 'protocol': 'LWM2M', 'additionalParams': {}, 'address': '', 'identifier': 'IoTeropBaselineClient_1'} |
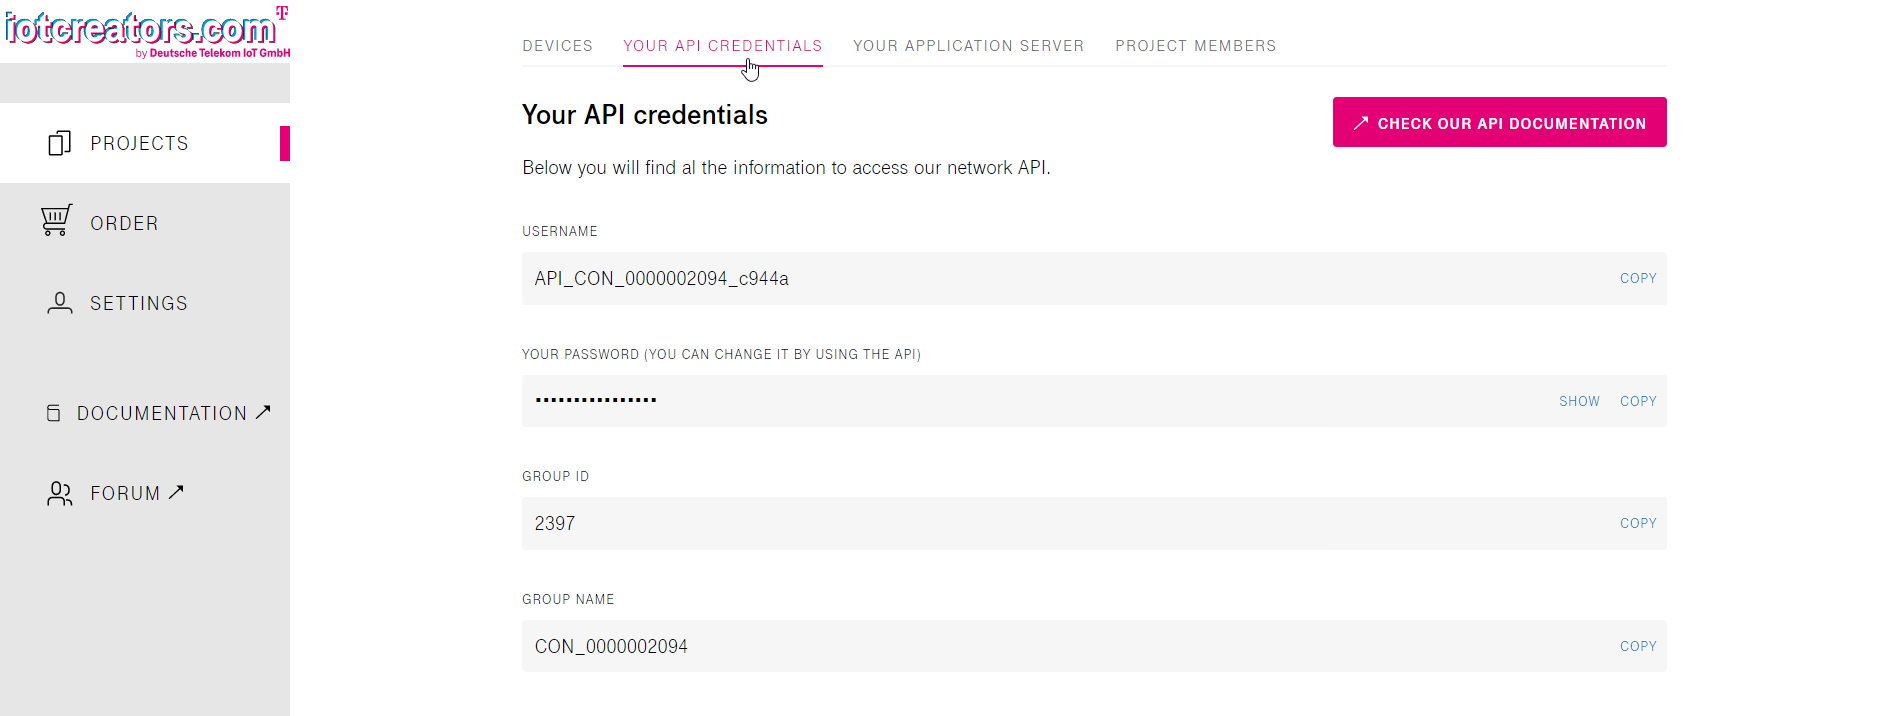
You can find the required information (Group name & login credentials) in your IoT Creators account.

For the authentication you need to encode your credentials to base64 format. Therefor you can use this website. Just enter USERNAME:PASSWORD and copy your generated String. Replace <YOUR BASE64 STRING> with the generated string from the website.
2.2 Register an Application URL
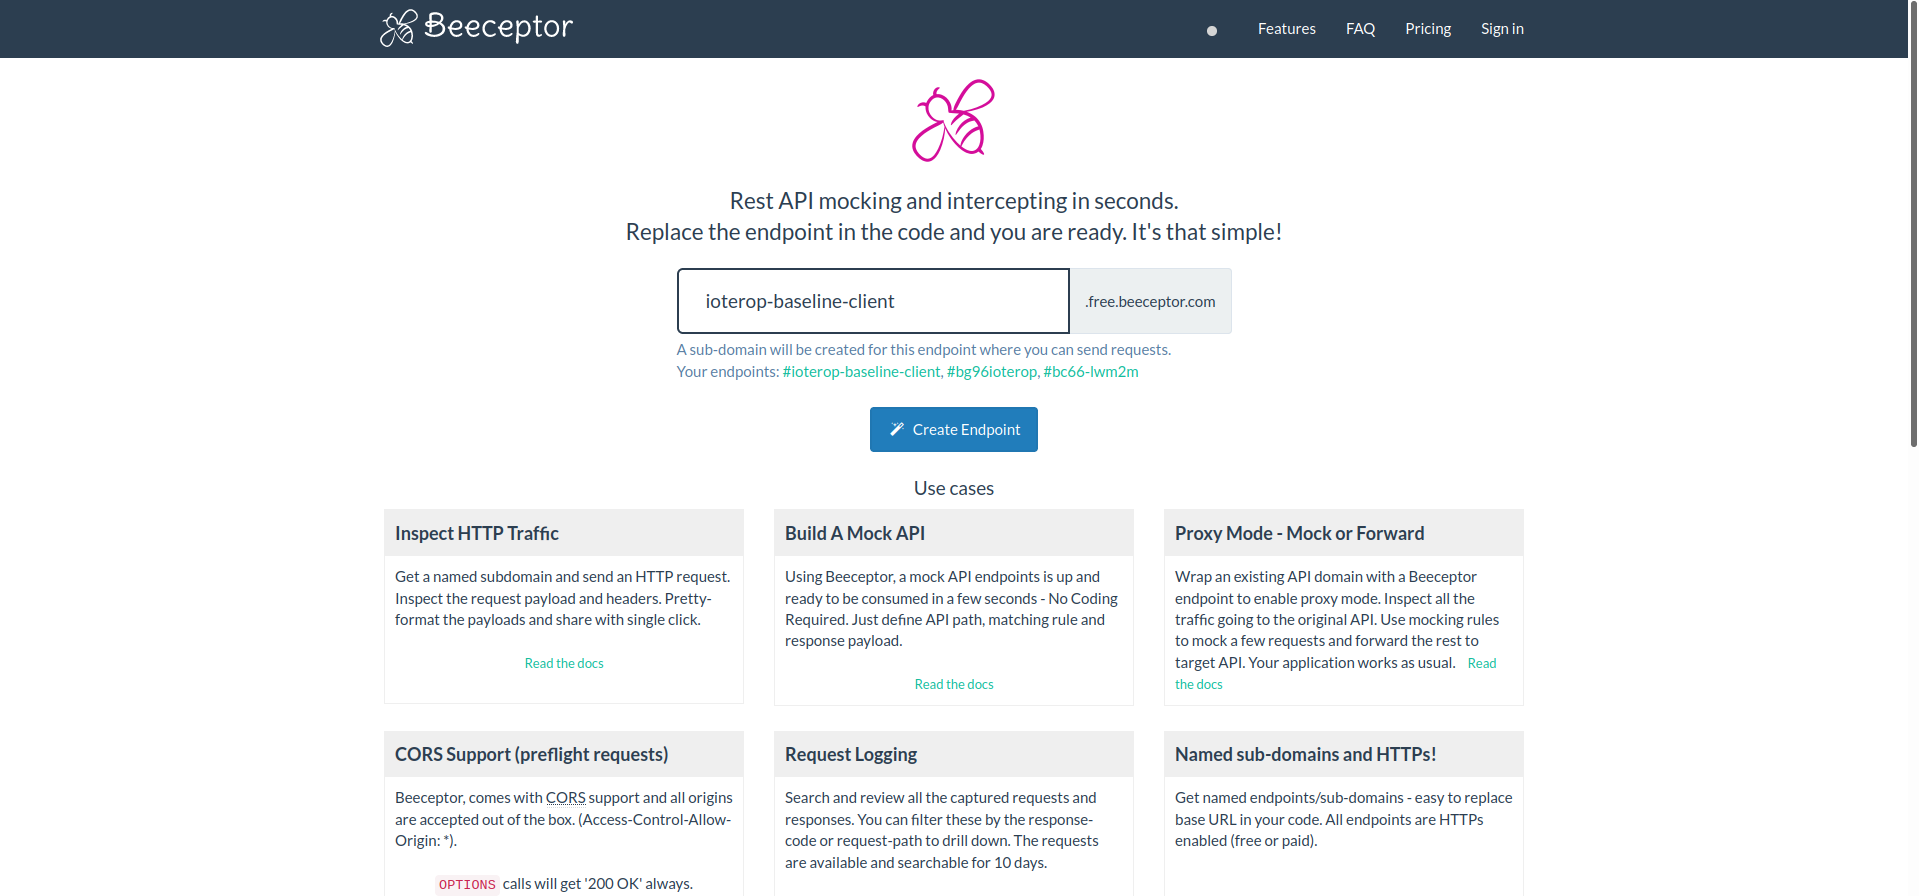
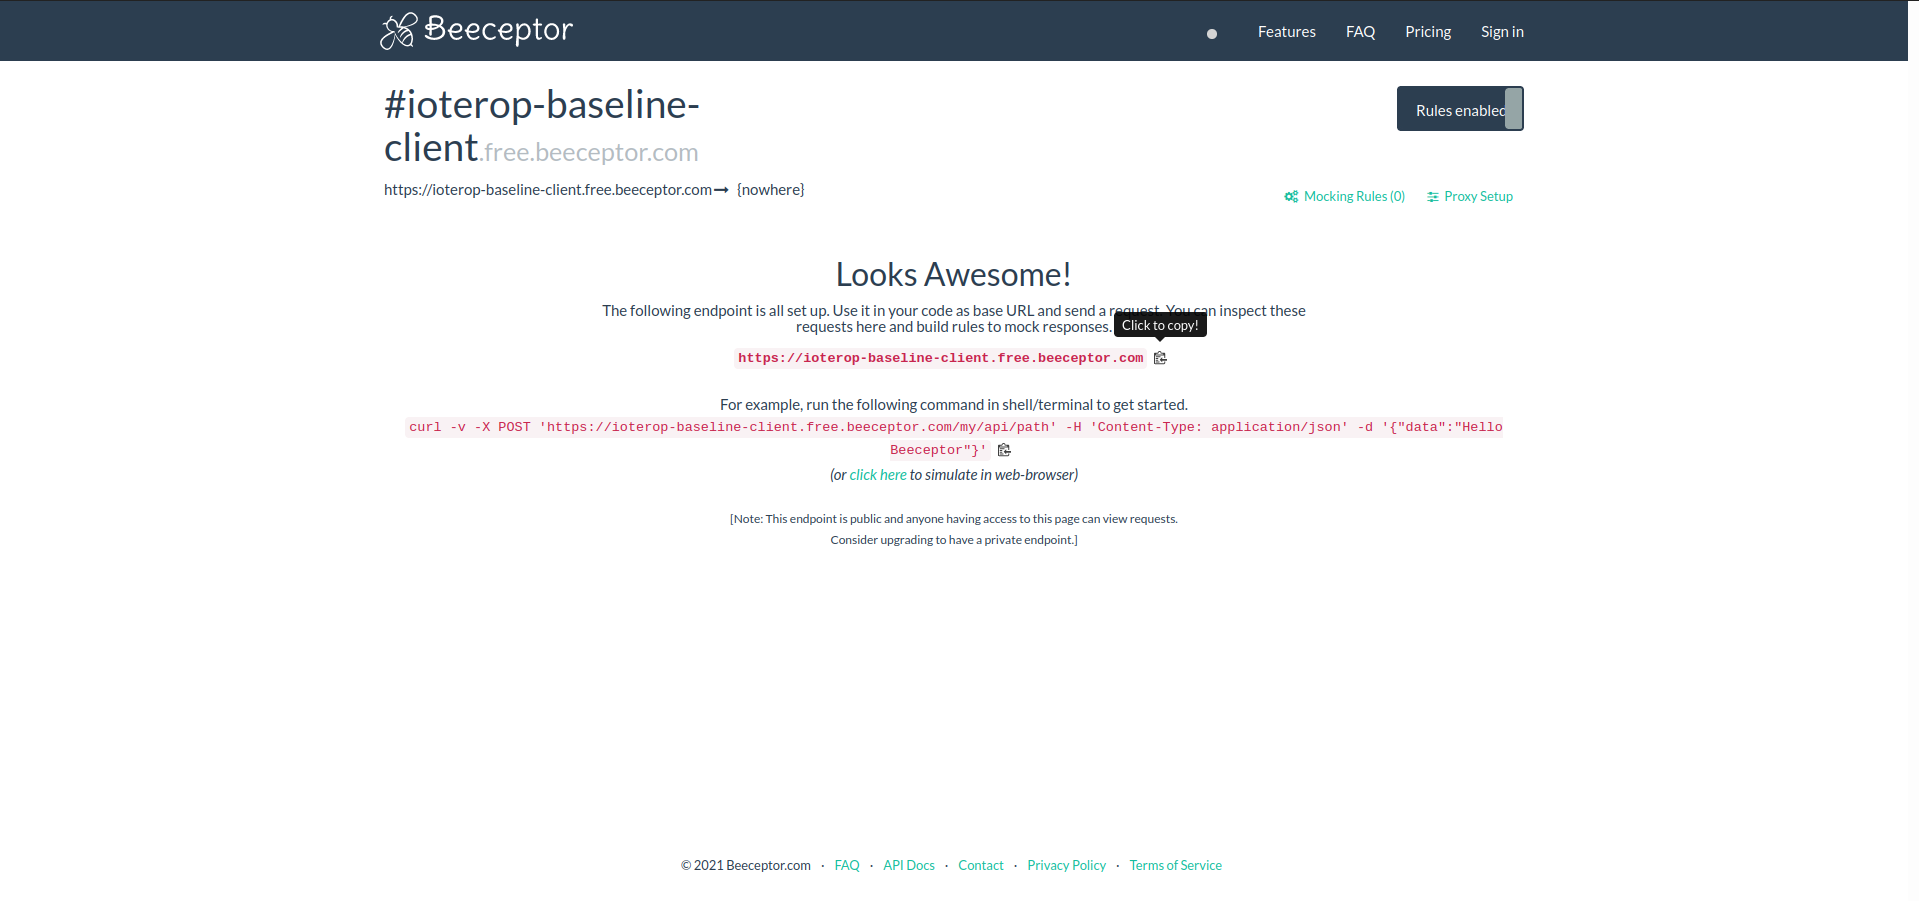
I recommend to do a lifecycle subscription on your device so you can see if everything works fine. The easiest way to do that is beeceptor. Just enter an endpoint name (e.g. ioterop-baseline-client.free.beeceptor.com) and copy the generated endpoint.


Use this URL to replace the <YOUR APPLICATION URL> in the following API. You also need the String from your credentials which you already used in the registration API once again.
| URL | https://api.scs.iot.telekom.com:443/m2m/applications/registration |
| Method | PUT |
| Header | Accept : application/json Content-Type : application/json |
| Body | { "headers" : { 'authorization': '<YOUR BASE64 STRING>' }, 'url' : '<YOUR APPLICATION URL' } |
2.3 Lifecycle Subscription
I also recommend to do a lifecycle subscription so you can see all your device activities. To do that, you can use the following API with your group name:
| URL | https://api.scs.iot.telekom.com/m2m/subscriptions?type=lifecycleEvents |
| Method | POST |
| Header | { 'Content-Type': 'application/json', 'Accept': 'application/json' } |
| Body | { 'criteria': { 'serialNumbers': [ 'IoTeropBaselineClient_1' ] }, 'deletionPolicy': 0, 'groupName': '<YOUR GROUPNAME>', 'events': [ 'registration', 'deregistration', 'update', 'expiration' ], 'subscriptionType': 'lifecycleEvents' } |
3.Configure and build the IoTerop IOWA Baseline Client
Let us start with downloading the public version of IoTerop's IOWA LwM2M stack from GitHub.
As mentioned we will use the baseline client. So please open the main.c file from samples/01-baseline_client. We only need to do two little changes which you can see in the screenshot below.
-
1: Replace the IP address from IoTerop's test server with the one from IoT Creators
IoT Creators LwM2M Server: 172.27.130.11 -
2: Set the id for the endpoint name to 1 instead of generating it from your computer
This is the part which I mentioned in the beginning. It is responsible for the _1 of our device name the rest (IoTeropBaselineClient) will be defined in the build progress.
Save the file and that's it. Now you are ready to build your baseline client. We will do it just like in the documentation from IoTerop:
Create the build folder in the IOWA repository:
~/IOWA$ mkdir build
Go to your new folder:
~/IOWA$ cd build
Launch cmake in debug mode and define the endpoint name. This is the part where we define the rest of our device name -> IoTeropBaselineClient
~/IOWA/build$ cmake -DCMAKE_BUILD_TYPE=Debug -DIOWA_DEV_NAME="IoTeropBaselineClient"
Build the client and the server:
~/IOWA/build$ make -j 4
After the build progress is completed we can go to the 01-baseline_client folder:
~/IOWA/build$ cd samples/01-baseline_client
Now we can run the client:
~/IOWA/build/samples/01-baseline_client$ ./baseline_client
4 Read Request
While the baseline client is running you can use the following API with your String of your credentials to do a read request on a resource (e.g 3/0/0).
| URL | https://api.scs.iot.telekom.com:443/m2m/endpoints/IoTeropBaselineClient_1/3/0/0 |
| Method | GET |
| Header | Content-Type : application/json Authorization : Basic <YOUR BASE64 STRING> |
Check your Beeceptor!
After executing you should be able to see the event in your Beeceptor.
Updated over 4 years ago
