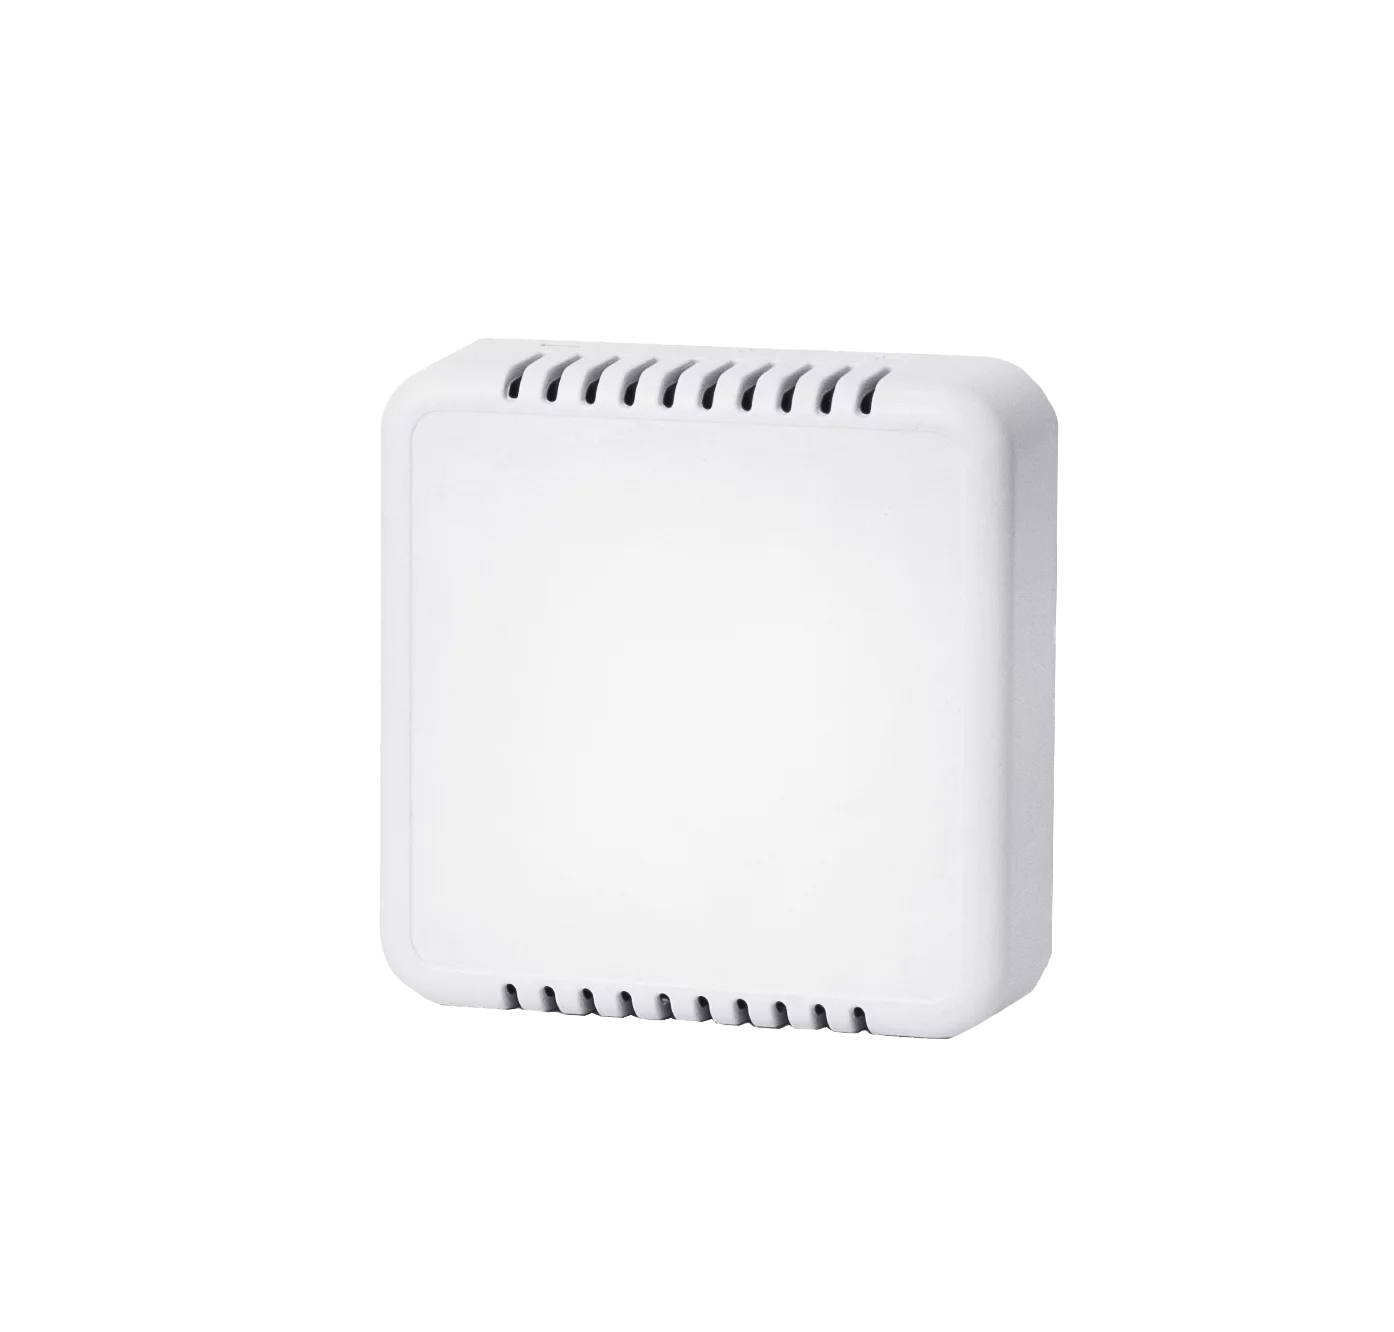
Nanosensorics Carbonless

The CARBONLESS is advanced technology sensor measures the magnitude of the CO2, temperature, humidity and used indoors. The data transmitted from the sensor is based on Class A LoRaWAN® wireless network.
CARBONLESS is powered with two batteries and able to operate up to 10 years depending on the configuration.
The CARBONLESS sensor is easily configured and connected to the LoRaWAN® wireless network.
CARBONLESS has automatic self-calibration based on integrated advanced intelligent (AI) computational algorithm and Automatic Baseline Correction (ABC) technology.
The main technical characteristics and benefits of CARBONLESS sensor:
- Compatible with LoRaWAN® specification 1.0.3
- Measures CO2
- Measures temperature
- Measures humidity
- Measurements at regular intervals with integrated advanced intelligent (AI) computational algorithms
- Indoor use
- Battery life is up to 10 years depending on settings and environmental conditions
Useful resources
Find here the useful resources:
Configuring the device
Powering on the device
The device can be powered on through a double 3.7 volts lithium batteries. When powered, the device will automatically try to join the lorawan network and will start to send data.
Finding the device keys
The lorawan keys are provided by Nanosensorics to you upon purchase.
Register the lorawan gateway
Register gateway
Please contact our [email protected] and we will register your LoRaWAN gateway for you ;)
Configure the gateway to point to iotcreators
After registering the gateway, it must be set to send data to iotcreators, to do so use the following config:
- Server address: cth-lorawan-connector.loriot.io
- Server port up: 1780
- Server port down: 1780
- Push timeout: 200ms (this also depends on the quality of your internet connection)
- Keep-alive interval: 5 seconds
Register the device
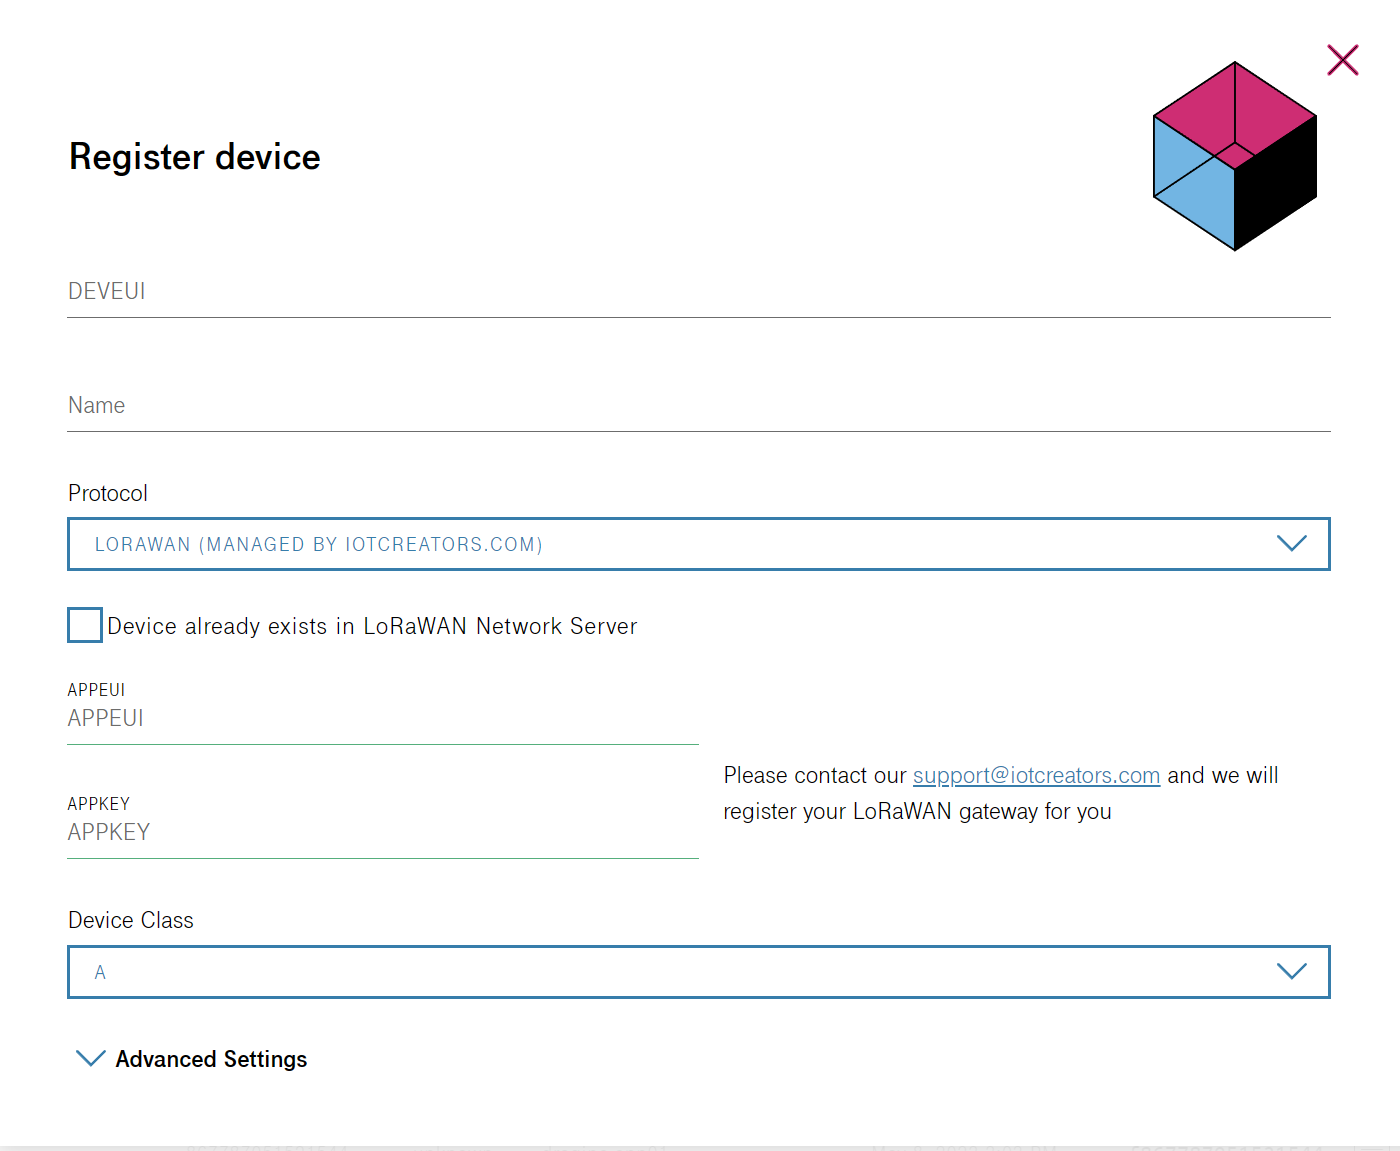
To register it, select "Lorawan (managed by iotcreators.com)" in the registration menu.

and input the device DEVEUI, APPKEY and APPEUI. Device class is A.
Sending data to iotcreators
Register the device
Remember to register the device before sending data to iotcreators, see chapter above.
The device will automatically send data at the specified interval of time. Such interval can be configured with dedicated downlinks.
Payload decoding
The payload sent by the carbonless contains data about CO2 level, humidity, temperature and device battery level. It can be decoded with the provided simple http application that you can find it below.
The uplink structure is as such:
| Bytes | Description |
|---|---|
| 0 - 1 | CO2 (ppm) |
| 2 - 3 | Temperature (byte 2 integer and byte 3 after dot) |
| 4 | Humidity |
| 5 - 6 | Battery voltage (byte 5 integer and byte 6 after dot) |
Code example
Here you can find a code example on how to decode data from this device:
Uplink decoder
Sending data to the device
The device can receive downlinks in order to configure its working parameters. All the downlinks must be sent to port 3.
The downlinks will only be received immediately after an uplink has been sent.
Downlink format
| Header | Payload length | Payload | |
|---|---|---|---|
| Settings ID | Settings data | ||
| 0xBA | 1 byte | 1 byte | 0-n bytes |
Possible configuration messages
| Setting ID | Setting Length | Comment |
|---|---|---|
| 0x1A | 2 bytes | Set sensors measurement time (Tx) period in seconds. Minimum value is limited to 30 s. Minimum value is 65536 s (1092 min / 18.2 |
| 0x1B | 1 byte | LED control: • 0x00 – green LED OFF • 0x01 – green LED ON • 0x02 – green LED toggle for 5 s |
| 0x1C | 0 bytes | Reset device |
Examples of downlinks:
- BA031A0384 - set measurement time to 15 minutes (900 s)
- BA031A0258 - set measurement time to 10 minutes (600 s)
- BA021B01 - green LED ON.
- BA011C - Reset device.
The config parameters can also be concatenated one after the other.
A self-explaining example:
BA051A03841B02 - Set measurement time to 15min and toggle green LED for 5s
Forwarding data to your application endpoint
To forward data to your application endpoint, you can follow the user guide here:
Forwarding data
Updated over 2 years ago
