MiroMico miro Click
Describes how to integrate the Comfort Sensor from IMBUILDINGS with your application.
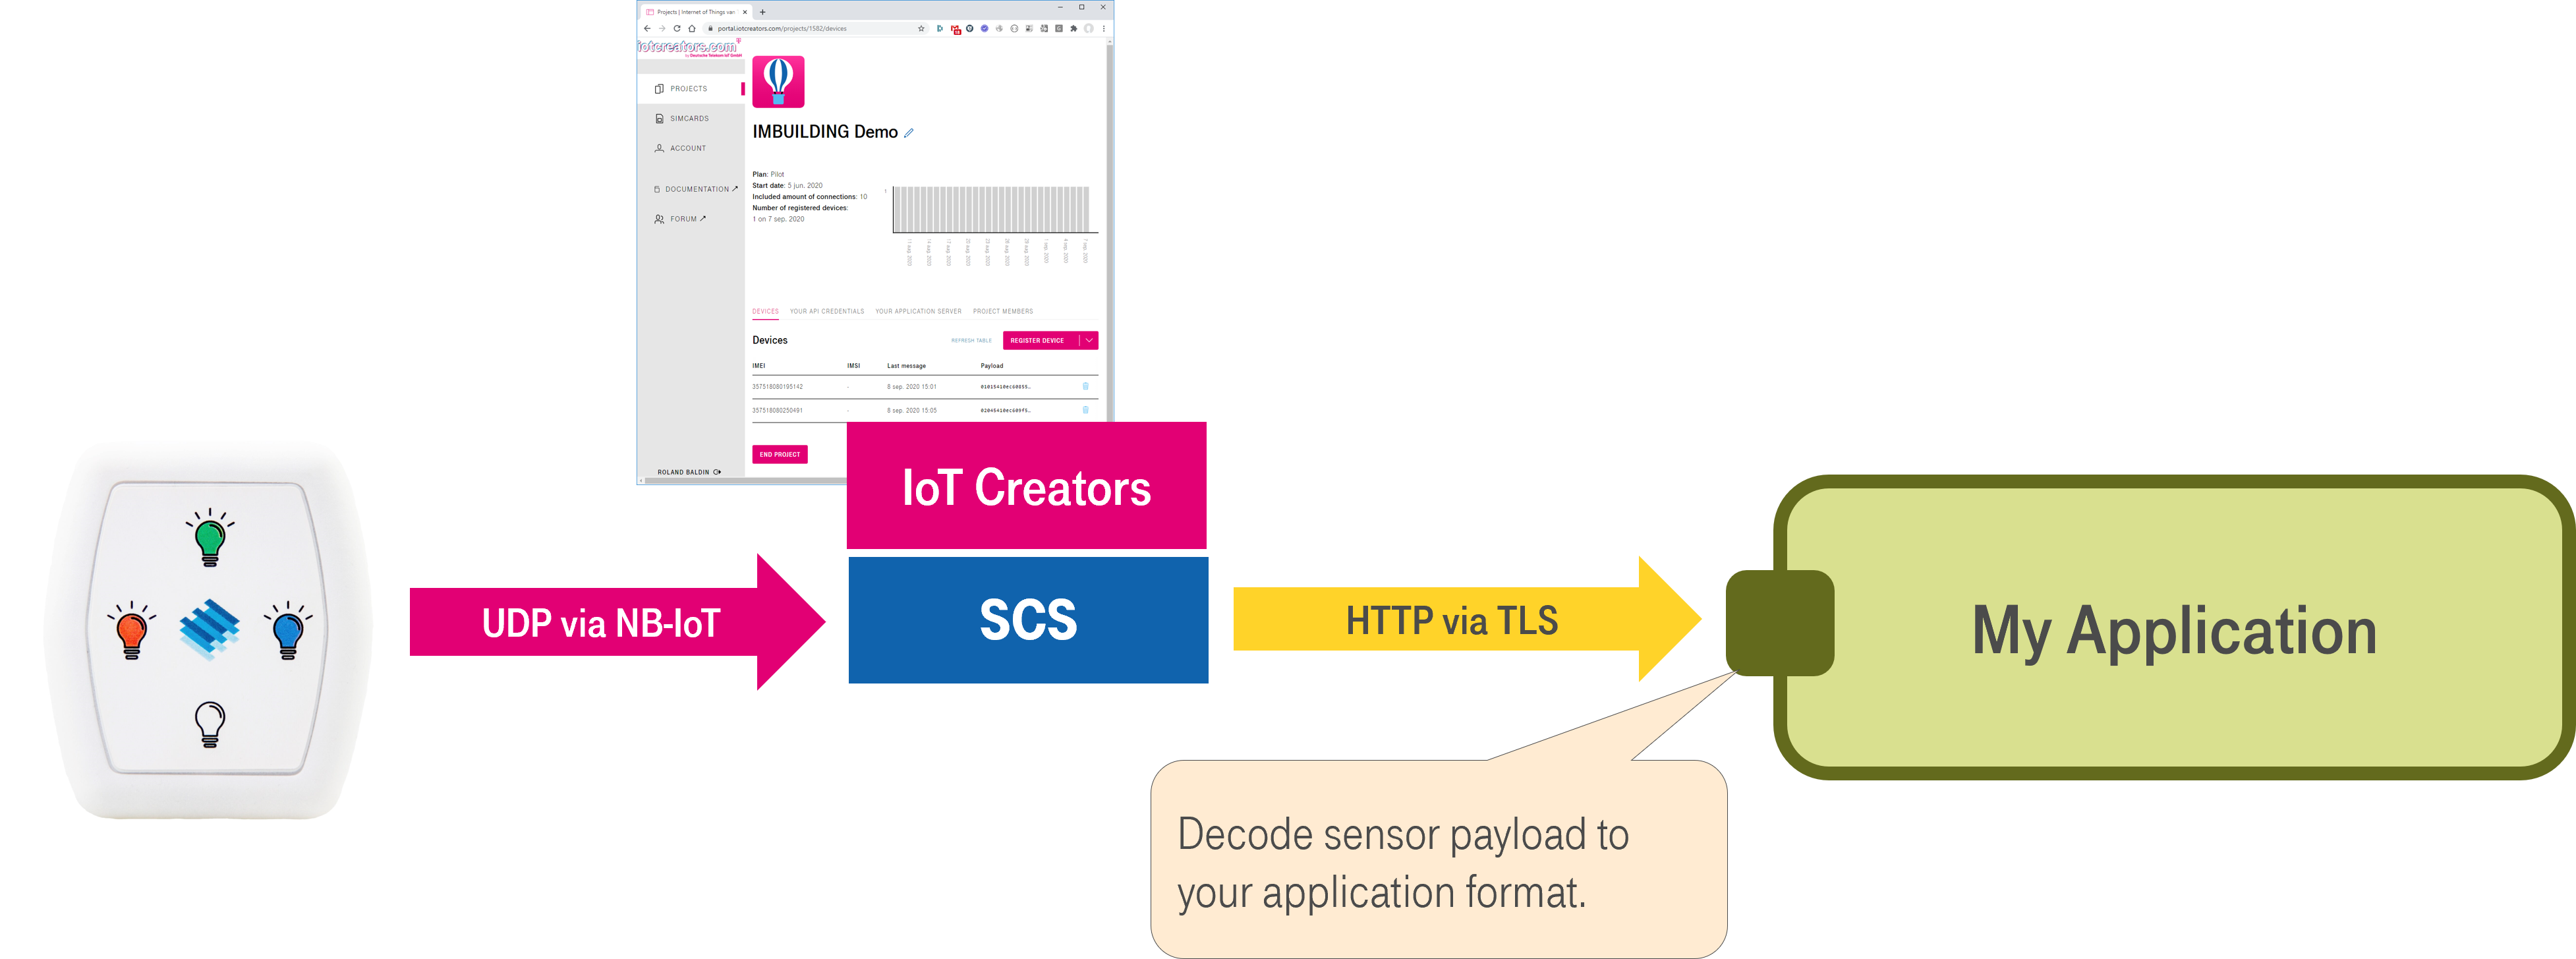
MiroMico provides a very interesting IoT device. Unlike ordinary sensors, The miro Click is actively operated. So it's basically a device with 5 push buttons which you can assign a specific use-case for example triggering events.
On demand they can be provided as Ready for IoT Creators and be shipped with an IoT Creators SIM card and pre-integrated with IoT Creators SCS.
In this chapter you get explained how you can register the miro Click in the IoT Creators portal and how you can decode the sensor data to integrate it with your application or IoT platform.

Register your Device!
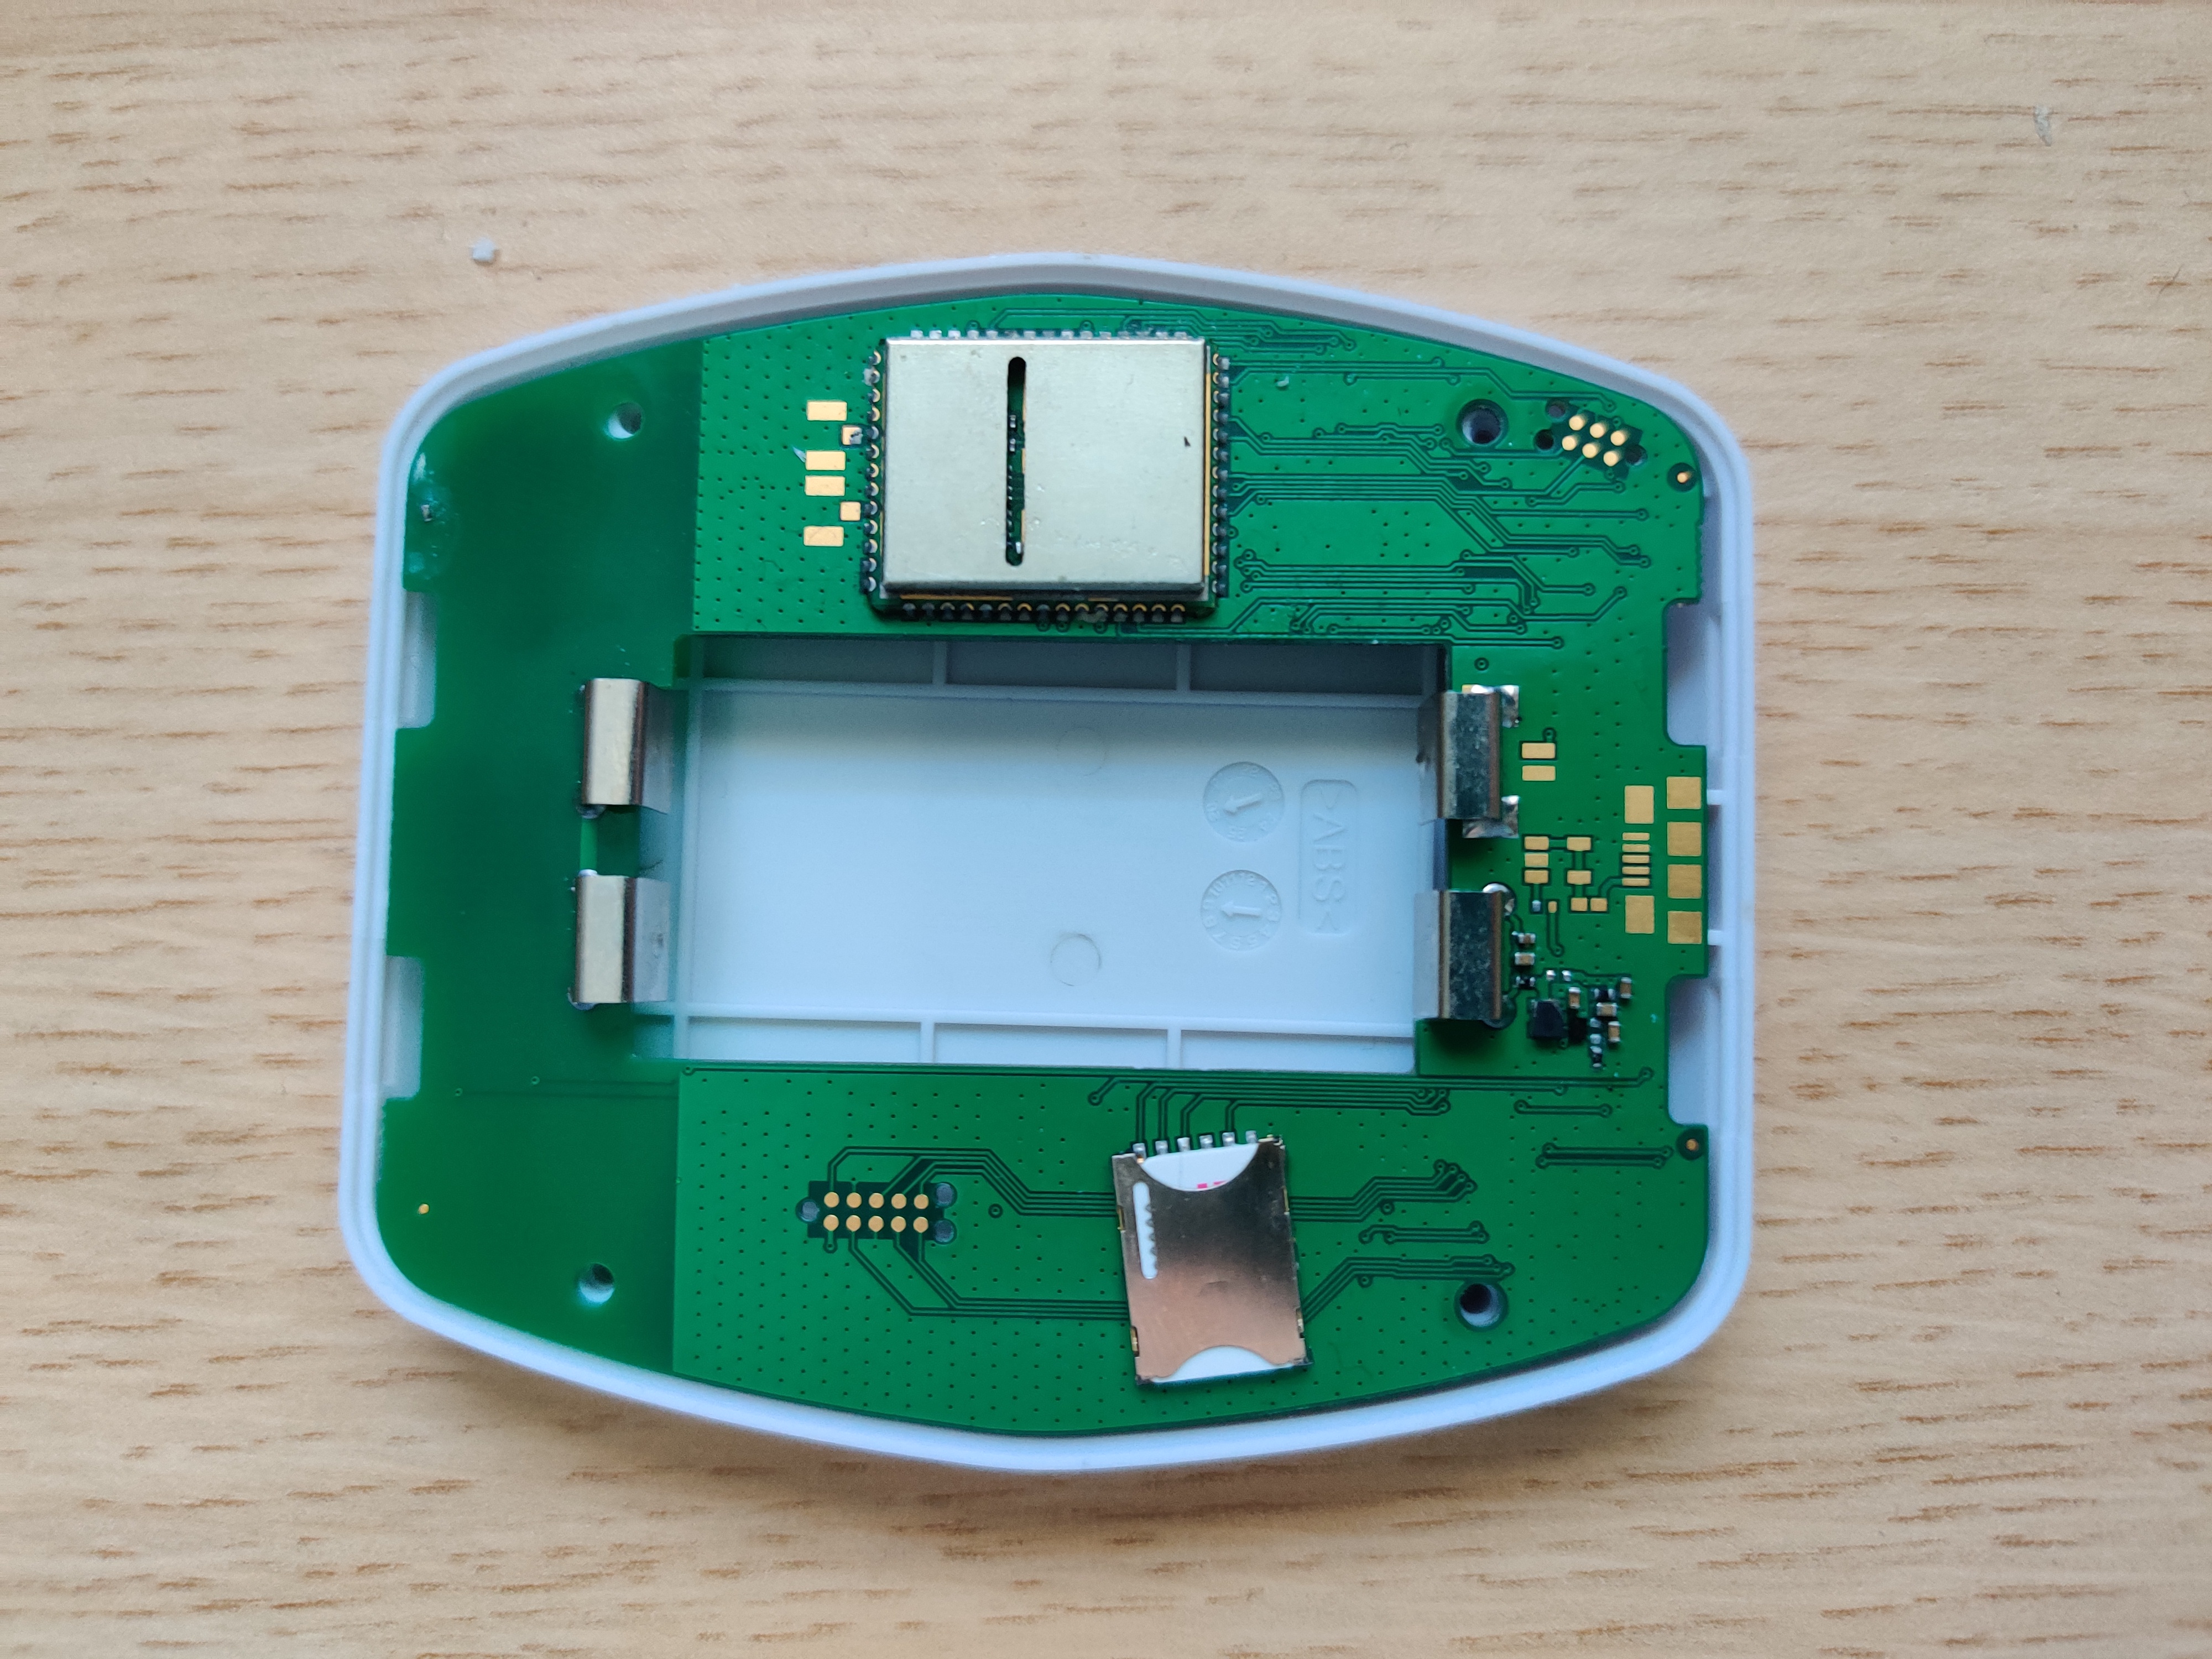
Before you send any UDP message to IoT Creators make sure you registered the device IMEI in your project before. You can find the IMEI inside the device after you opened it.
If you forget, you will have problems to register your device afterwards. In this case please get in contact with IoT Creators support team.
The sensor provides the value as a single data package in hex format. This data is forwarded by the SCS to your application URL as the value element as part of the following JSON payload.
{
    "reports":[{
        "serialNumber":"IMEI:004403215326093",
        "timestamp":1600439712734,
        "subscriptionId":"fa37d89c-a7e2-4f3d-b12f-6002a3642b4c",
        "resourcePath":"uplinkMsg/0/data",
        "value":"040151A500050220120000"
    }],
    "registrations":[],
    "deregistrations":[],
    "updates":[],
    "expirations":[],
    "responses":[]
}
To get the value of the sensor into your application you need to decode the hex data of the value element to the actual value.
Decoding the Payload
No matter if you can receive JSON payload from IoT Creators SCS directly in your application or if you have to switch an additional message transformation service in between you have to implement (or to configure) data decoding according to the data specification of MiroMico.
So here is a JavaScript sample to decode the data:
import logging

log = logging.getLogger(__name__)

# Introduced with MiroMico Click button
MN_CLICK_NAME = "Click_Name"
MN_CLICK_ID   = "Click_Id"
MN_NORTH_CLICK = "North_Click"
MN_EAST_CLICK  = "East_Click"
MN_SOUTH_CLICK = "South_Click"
MN_WEST_CLICK  = "West_Click"

MV_NORTH_STR       = "North"
MV_EAST_STR        = "East"
MV_SOUTH_STR       = "South"
MV_WEST_STR        = "West"
MV_NORTH_ID        = 1
MV_EAST_ID         = 2
MV_SOUTH_ID        = 3
MV_WEST_ID         = 4

FIRSTCLICK_MASK = 1 + 2 + 4 + 8
ALLCLICK_MASK   = 16 + 32 + 64 + 128
NORTHCLICK_MASK = 1
EASTCLICK_MASK  = 2
SOUTHCLICK_MASK = 4
WESTCLICK_MASK  = 8

def decode(hexString):

    # In case the function is called testwise, return None
    if not hexString:
        return None

    d = {}

    hexData = bytearray.fromhex(hexString)

    L = int(hexData[0])  # Length
    T = int(hexData[1])  # Type

    # Button pushed
    if L == 4 and T == 1:
        bits = int(hexData[2]) # BitMask

        if (NORTHCLICK_MASK & bits) > 0:
            d[MN_CLICK_NAME] = MV_NORTH_STR
            d[MN_CLICK_ID]  = MV_NORTH_ID
        elif (EASTCLICK_MASK & bits) > 0:
            d[MN_CLICK_NAME] = MV_EAST_STR
            d[MN_CLICK_ID]  = MV_EAST_ID
        elif (SOUTHCLICK_MASK & bits) > 0:
            d[MN_CLICK_NAME] = MV_SOUTH_STR
            d[MN_CLICK_ID]  = MV_EAST_ID
        elif (WESTCLICK_MASK & bits) > 0:
            d[MN_CLICK_NAME] = MV_WEST_STR
            d[MN_CLICK_ID]  = MV_EAST_ID

        # Determin which of buttons have been clicked els
        bits = (bits & ALLCLICK_MASK) >> 4

        for (mask, key) in [(NORTHCLICK_MASK, MN_NORTH_CLICK),
                            (EASTCLICK_MASK,  MN_EAST_CLICK),
                            (SOUTHCLICK_MASK, MN_SOUTH_CLICK),
                            (WESTCLICK_MASK,  MN_WEST_CLICK)]:
            if (mask & bits) > 0:
                d[key] = 1
            else:
                d[key] = 0

    else:
        log.error("Unknown event type.")

    return d
Learn more about MiroMico's payloads
Keep in mind that the miro Click sends different messages with different types of payloads. The ones that are sent after you pressed a button, the regular status messages, the firmware hash after a connection has been established. Check out MiroMico's documentation to learn more about their payloads.
Set up your miro Click
Now that you know how to decode your sensor data it makes sense to finally send some.
So let's set up the sensor.
MiroMico usually configures the server IP and the port correctly before delivering their devices to the customer.
You can find our server addresses, ports, and other useful network information here.
Since we don't have to make any further configurations, the commissioning of the device is quite simple.
First you have to remove the back of your device (maybe it still is because you already read the IMEI)
Afterwards you can Then you can unscrew the battery compartment.
Now you should see the SIM card slot where you can insert the IoT Creators SIM card.

Now screw the battery compartment back on and put some in.
The device will turn on automatically and let you know with a beep.
After a short time you should hear another beeping sound which means that the device found a network connection. It will then send a message directly to our server.
So you should already see this message in the IoT Creators Portal and can now feel free to push some buttons.
Updated over 3 years ago
